news@appleinsider.com (Chip Loder)
2024-10-03 23:01:47
appleinsider.com
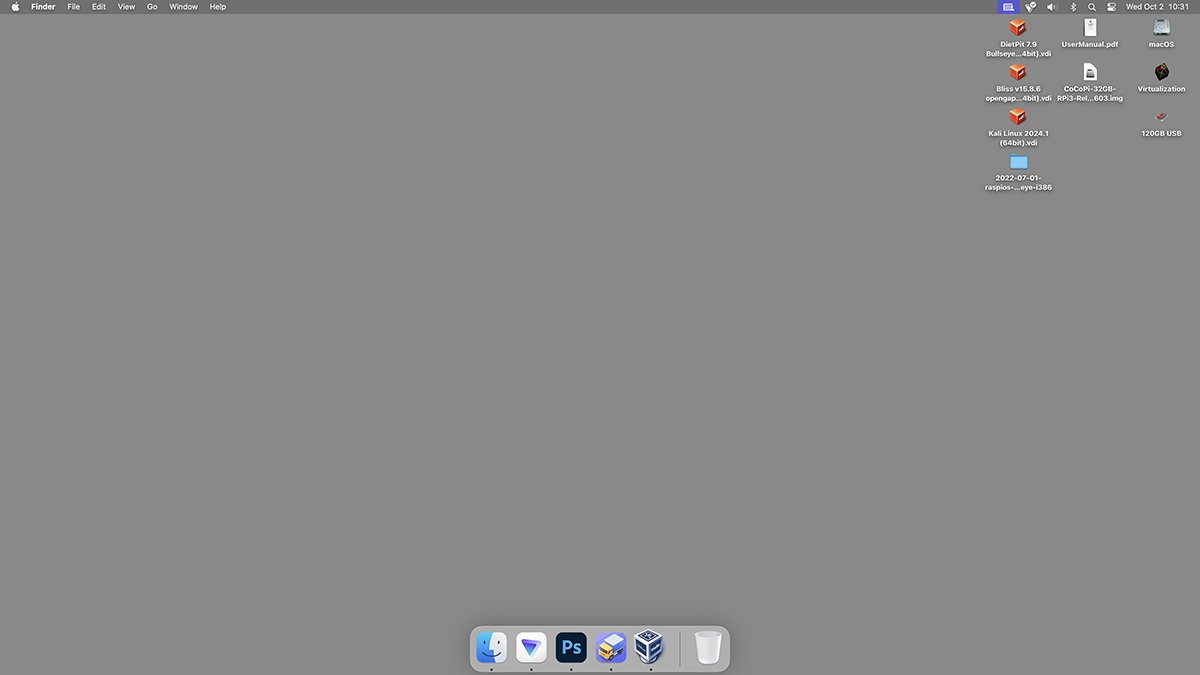
The macOS Dock displays apps you add to it or that you run. Here’s how to make it display only apps that are currently running on your Mac.
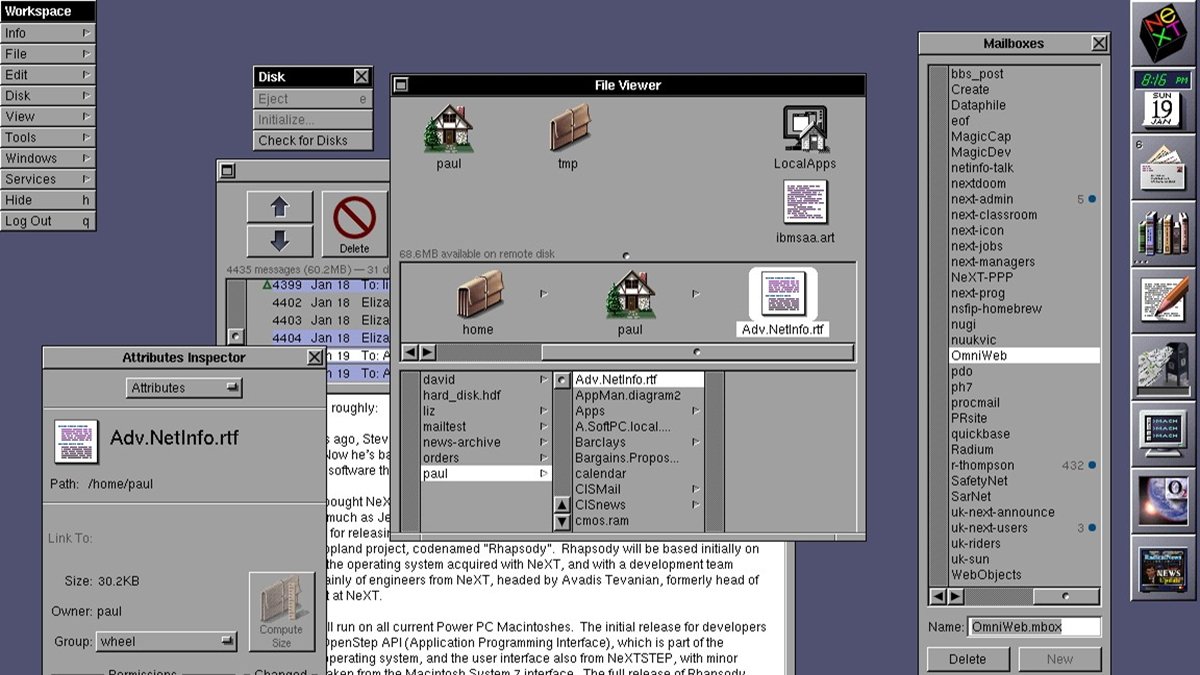
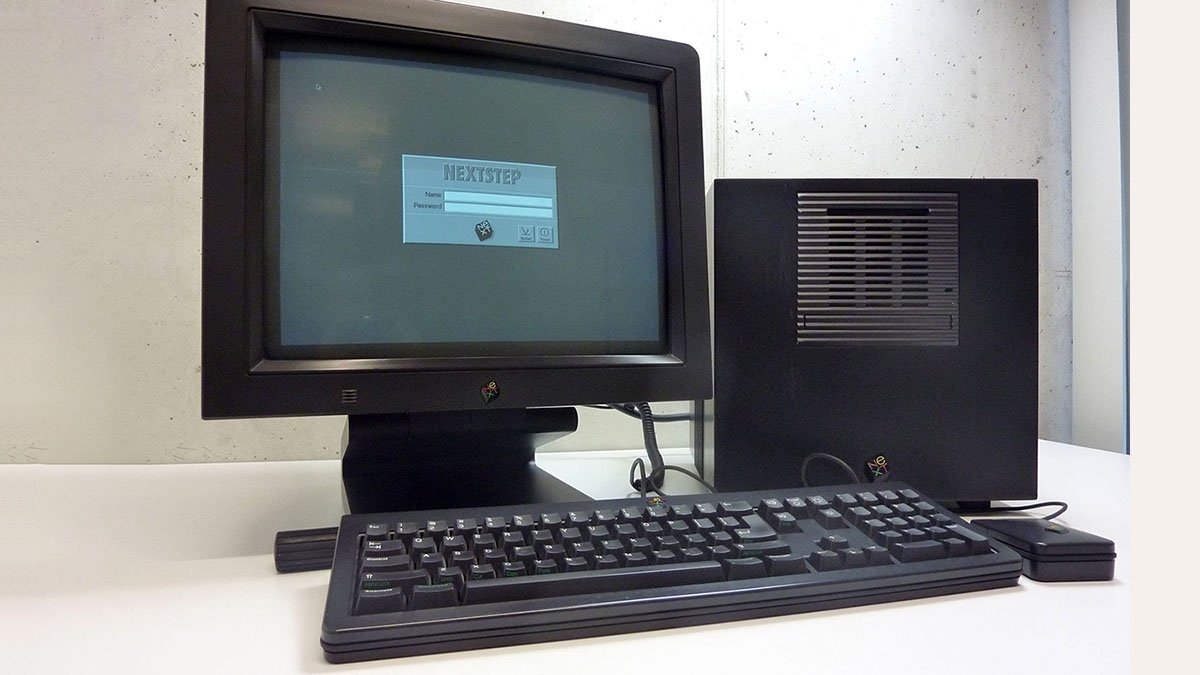
The macOS Dock app originated in macOS’s early OS precursor NeXTStep and OpenStep, which were created at Steve Jobs’ other company, NeXT Computer. In 1997 Apple bought NeXT and acquired the NeXT technology along with it.
NeXTStep was modified by Apple and in 2000 Apple re-released it as Mac OS X – which merges most of the core of NeXTStep (which became Darwin in macOS) with features and filesystems from Apple’s older Mac OS 9.
Early versions of the two merged operating systems were called Rhapsody.
One of the apps that was unique to NeXTStep was the Dock – a small strip that could be shown on an edge of the display. The Dock stored apps, files, folders, and other objects from the filesystem to provide shortcuts.
Dock changes
Over the years Apple evolved the Dock a bit – including the ability to hide or show it on demand, adjust its size and magnification, and indicate which apps are running. Most of these changes can be set in the macOS System Settings app today.
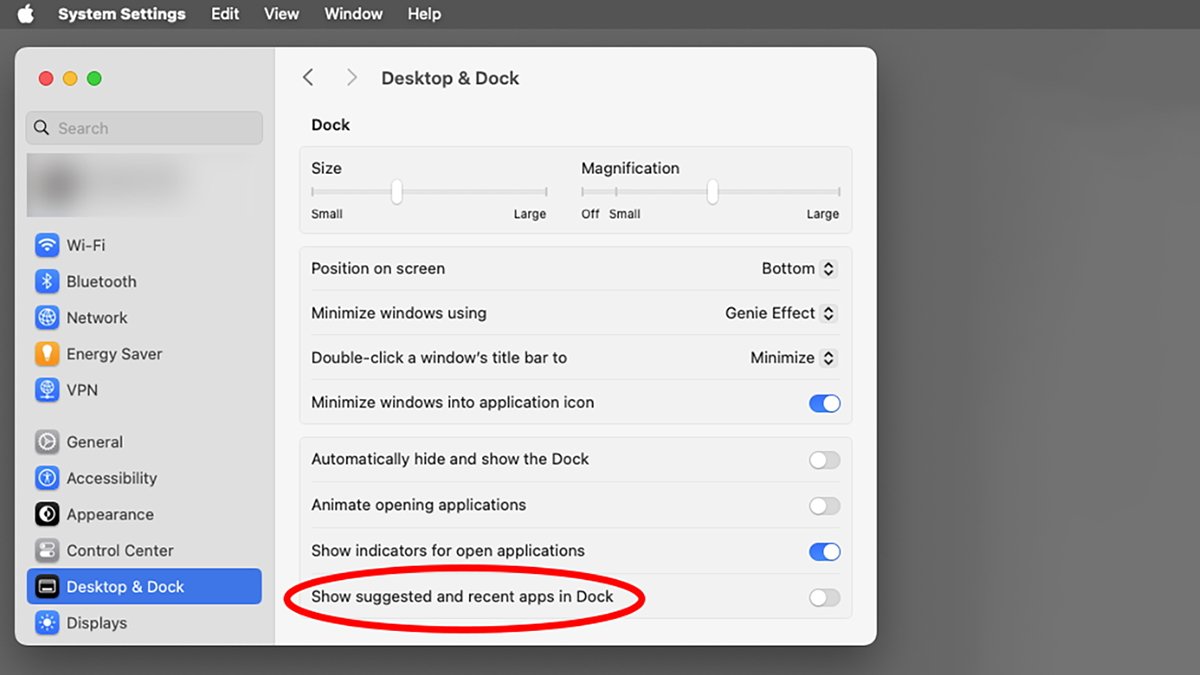
Apple also added the ability to minimize Finder, app, and document windows into the Dock, also based on configuration within System Settings->Desktop & Dock. Just about the only thing the macOS Dock can’t do today that the original NeXT Dock could do is tear tiles off containing individual single app icons.
You can turn this on in System Settings->Desktop & Dock->Show suggested and recent apps in Dock. When this is enabled, the Dock will also display apps it thinks you might like, as well as the most recently used apps.
You can also add some file system objects such as files, folders, drive volumes, and aliases to the far right side of the Dock, past the small vertical divider where the Trash lives. To add a volume or folder to the right side of the Dock, just drag it there in the Finder.
If you right-click an item in the Dock with your mouse, you can show the item it represents in the Finder, remove it from the Dock, or set it to launch at log-in. If you right-click a filesystem item in the right side of the Dock, you can set options for Stacks and Folders, open it, set sorting options, or remove it.
Hidden features
The Dock has several settings and hidden features which are stored in a .plist preferences file on the Startup Disk at /Users/user/Library/Preferences/com.apple.dock.plist where “user” is the currently active logged-in username. A .plist file is just a formatted XML file that contains key/value pairs.
If you open com.apple.dock.plist with a text editor you’ll see the file’s XML, which you can edit. Alternately, you can open the file in Apple’s Xcode, select it in the project navigator, then edit it on the pane on the right.
In either case, if you do edit the file just be sure to save it, then reload the Dock (described below), or Log Out and log back in to your Mac.
You’ll want to be careful about which com.apple.dock.plist values you change, since it’s possible to set various items to values which will render the Dock unusable. Make a backup copy of com.apple.dock.plist first if you do edit it in case you want to restore it later.
You can also edit Dock features using the Terminal app’s defaults command. To see how defaults works, in Terminal type:
then press Return on your keyboard. To exit the man system, press Control-Z on your keyboard.
“defaults” is essentially a way to edit macOS’s preferences and settings using a command-line interface.
To edit a setting in defaults, you typically type defaults, a space, a sub-command, followed by the reverse-domain name of the setting you want to change (called the domain), the setting name, then a new value followed by a Return.
For example, to show all hidden files in the macOS Finder, in Terminal you’d type:
defaults write com.apple.Finder AppleShowAllFiles true
There are other defaults commands such as read, delete, rename, and more. You can dump all the settings on your Mac by typing:
and pressing Return. Be warned, doing this will dump a huge amount of info into the Terminal.
You can even hack your Dock to insert blank spaces and group apps together. We will cover this in a future article.
In the case of the Dock, if you edit the com.apple.dock.plist file or change one of its settings using the defaults system, you’ll need to restart the Dock. Do this by either by Logging Out and logging back in, or by using the killall command in Terminal:
killall Dock and press Return.
Once the Finder reloads the Dock, it will re-read the com.apple.dock.plist file and reset the Dock accordingly.
In 2021 Apple made some changes to its system security requirements for apps. In some versions of macOS, your com.apple.dock.plist file may be encrypted.
If that’s the case, you’ll need to open it to Xcode to edit it. Always make a backup copy of the file first, and always test your changes before discarding the backup.
To edit the file in Xcode, just make a copy of it to your Desktop in the Finder, then drag and drop the file onto the Xcode app icon in /Applications. You’ll need to download Xcode from the App Store first.
Showing only running apps
The Dock can get unwieldy sometimes. If you add too many items or are running lots of apps at once it can become hard to find what you’re looking for.
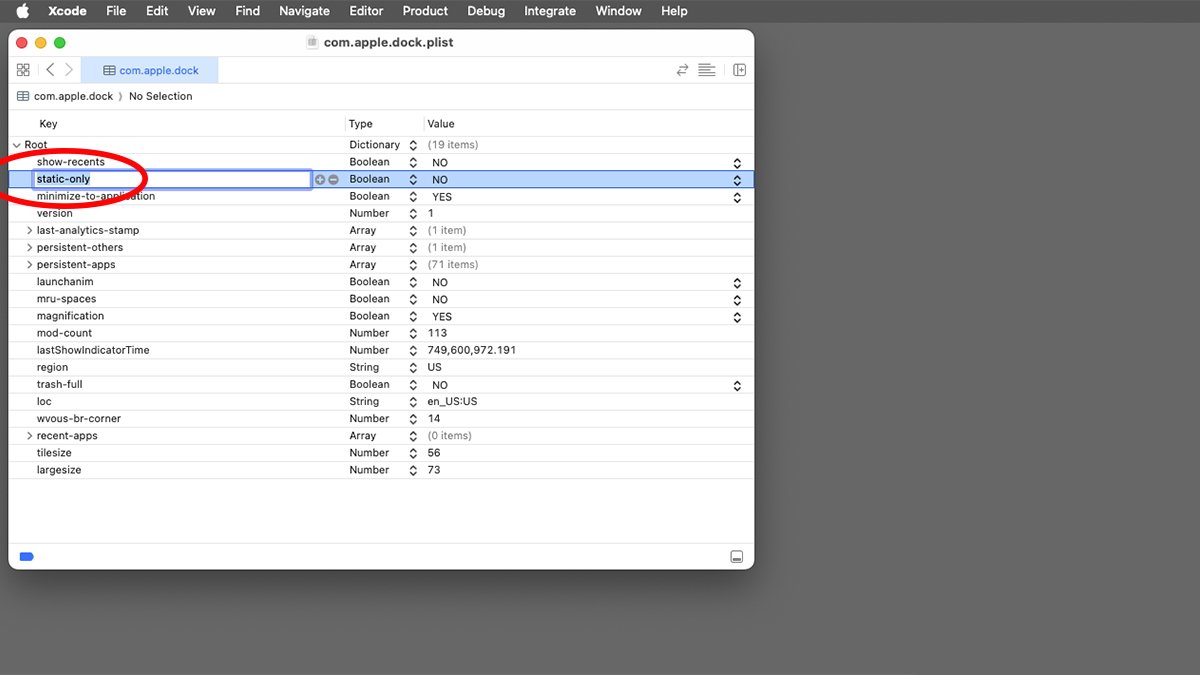
Sometime around 2018, Apple added a new (possible) setting in the com.apple.dock defaults domain: static-only. This setting determines whether or not only running apps are shown in the Dock.
But Apple didn’t add the static-only setting to the com.apple.dock.plist file itself. So to use this setting you’ll either need to write it using the defaults command in Terminal, or else add it to the com.apple.dock.plist file in Xcode.
static-only is a Boolean which in computer science terms means it’s either a true or false value. Or in Apple programming terms, YES or NO.
Xcode displays these values as a type Boolean with YES or NO being the only two possible values. To make your Dock show only running apps and exlcude everything else, add the static-only Boolean, set its value to YES, and save the .plist file.
You’ll then need to restart the Dock, the Finder, or Log Out and log back in (or Restart) your Mac.
In detail, the steps to add this value to the com.apple.dock.plist file in Xcode once you’ve opened it are:
- Control-click anywhere in a blank part of the .plist window
- Select Add Value from the popup menu
- Set the Key field to
static-only - Set the Type field to
Boolean - Set the Value field to
YES
Save the file, backup the original one from your Preferences folder in the Finder, then replace the old file with the new one (you’ll need to enter an admin password).
Once the new file is in place, Log Out, then log back in, restart the Dock, or Restart your Mac.
When the Dock loads, it will now display only running apps. To reverse the setting and display the Dock normally, set static-only back to YES and repeat the same process as above.
If you don’t want to have to go through the hassle of editing the .plist file directly, you can toggle the same setting using defaults in Terminal:
defaults write com.apple.dock static-only -bool true
defaults write com.apple.dock static-only -bool false
After each command issue the killall Dock command again and press Return:
Additional cool .plist settings
The com.apple.dock.plist file contains some other interesting settings:
- show-recents
- magnification (Magnification)
- persistent-apps (all Dock apps)
- launchanim (Animate launching apps)
- trash-full (Whether or not the Trash has items
- wvous-br-corner (Hot Corners)
To dump only Dock settings in Terminal, type:
defaults read com.apple.dock
From this data you can see what the key names and values are for all current Dock settings.
The Dock has been with us for decades – from Mac OS X in 2000 and even before that on NeXT systems. Users either love or hate the Dock, but it’s here to stay and by using customization you can make the most of it.
Support Techcratic
If you find value in Techcratic’s insights and articles, consider supporting us with Bitcoin. Your support helps me, as a solo operator, continue delivering high-quality content while managing all the technical aspects, from server maintenance to blog writing, future updates, and improvements. Support Innovation! Thank you.
Bitcoin Address:
bc1qlszw7elx2qahjwvaryh0tkgg8y68enw30gpvge
Please verify this address before sending funds.
Bitcoin QR Code
Simply scan the QR code below to support Techcratic.

Please read the Privacy and Security Disclaimer on how Techcratic handles your support.
Disclaimer: As an Amazon Associate, Techcratic may earn from qualifying purchases.


![Steven Spielberg Director’s Collection (Jaws / E.T. The Extra-Terrestrial / Jurassic Park / The Lost World: Jurassic Park / Duel / The Sugarland Express / 1941 / Always) [Blu-ray]](https://techcratic.com/wp-content/uploads/2024/11/819nyYoJflL._SL1500_-360x180.jpg)


