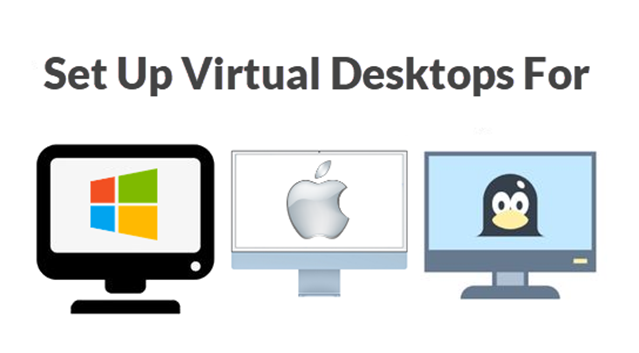
Want to keep your tasks organized? Virtual desktops allow you to separate your workspace into multiple desktops for better management!
Here’s how you can set up a virtual desktop in under 30 seconds in Windows, Mac, or Linux:
For Windows Users:
- Open Task View: Press Win + Tab or click the Task View button on the taskbar.
- Add a New Desktop: Click on + New Desktop at the top of the screen.
- Switch Between Desktops: Use Win + Ctrl + Left/Right Arrow to move between desktops.
- Manage Desktops: In Task View, you can drag and drop windows between desktops or close desktops by clicking the X icon.
For Mac Users:
- Open Mission Control: Swipe up with three or four fingers on the trackpad or press Control + Up Arrow.
- Add a New Desktop: Click the + button in the top right corner of the screen.
- Switch Between Desktops: Swipe left or right with three or four fingers on the trackpad or press Control + Left/Right Arrow.
- Manage Desktops: In Mission Control, you can drag and drop windows between desktops or remove desktops by clicking the X icon.
For Linux Users:
- Open Activities Overview: Press Super (Windows) Key or click the Activities button in the top left corner.
- Add a New Workspace: Move your mouse to the right edge of the screen, and click on the + button that appears.
- Switch Between Workspaces: Use Super + Page Up/Page Down or use the Activities Overview to switch.
- Manage Workspaces: In the Activities Overview, you can drag and drop windows between workspaces or remove workspaces by closing them.
Quick Tip: Virtual desktops are a great way to keep your work and personal tasks organized. Explore different ways to use them to boost your productivity!
If you have any further thoughts or questions, please leave them below in the comment section.
Support Techcratic
If you find value in Techcratic’s insights and articles, consider supporting us with Bitcoin. Your support helps me, as a solo operator, continue delivering high-quality content while managing all the technical aspects, from server maintenance to blog writing, future updates, and improvements. Support innovation! Thank you.
Bitcoin Address:
bc1qlszw7elx2qahjwvaryh0tkgg8y68enw30gpvge
Please verify this address before sending funds.
Bitcoin QR Code
Simply scan the QR code below to support Techcratic.
Please read the Privacy and Security Disclaimer on how Techcratic handles your support.
Disclaimer: As an Amazon Associate, Techcratic may earn from qualifying purchases.
















![[Gigastone] Micro SD Card 32GB 5-Pack, Gaming Plus, MicroSDHC Memory Card for…](https://techcratic.com/wp-content/uploads/2025/07/619ev8iBvzL._AC_SL1000_-360x180.jpg)


