


Josep Ferrer
2025-03-26 10:00:00
www.kdnuggets.com
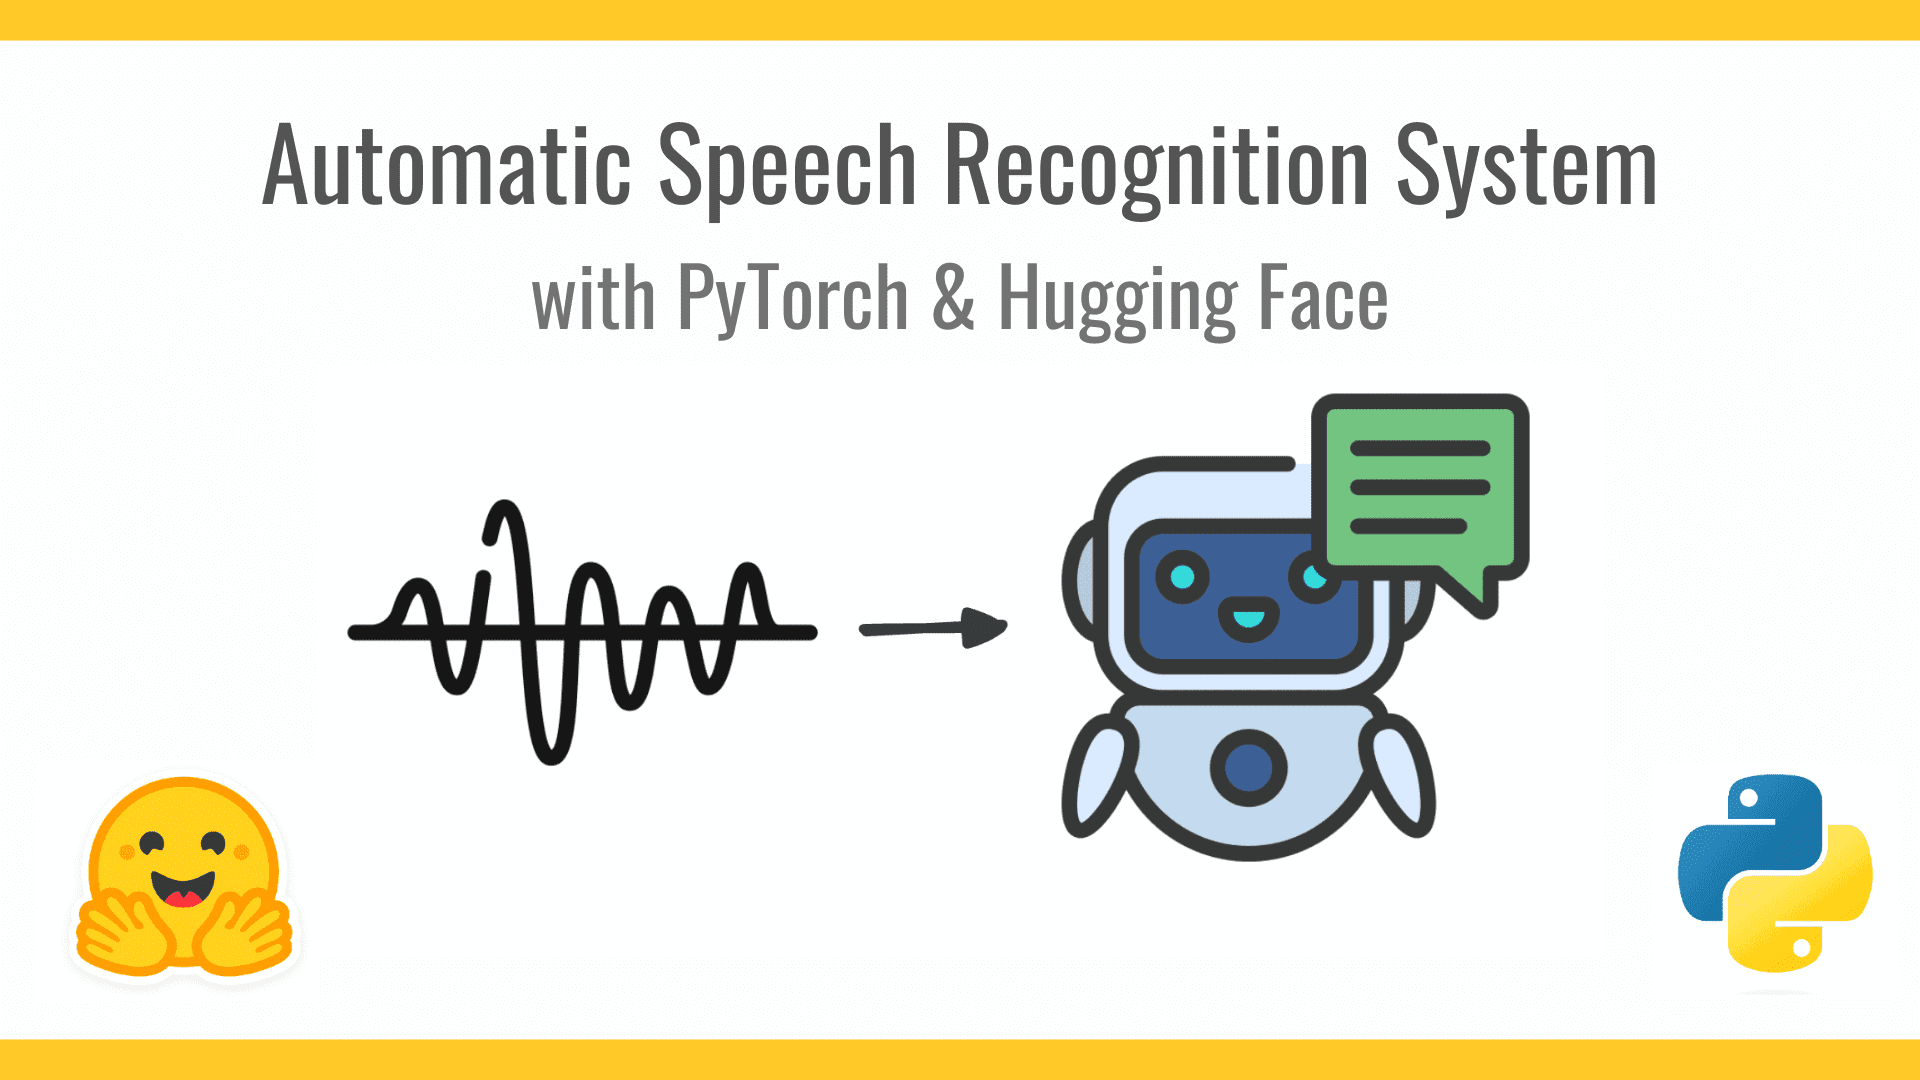
Image by Author
Automatic speech recognition (ASR) is a crucial technology in many applications, from voice assistants to transcription services. In this tutorial, we aim to build an ASR pipeline capable of transcribing speech into text using pre-trained models from Hugging Face. We will use a lightweight dataset for efficiency and employ Wav2Vec2, a powerful self-supervised model for speech recognition.
Our system will:
- Load and preprocess a speech dataset
- Fine-tune a pre-trained Wav2Vec2 model
- Evaluate the model’s performance using word error rate (WER)
- Deploy the model for real-time speech-to-text inference
To keep our model lightweight and efficient, we will use a small speech dataset rather than large datasets like Common Voice.
Step 1: Installing Dependencies
Before we start, we need to install the necessary libraries. These libraries will allow us to load datasets, process audio files, and fine-tune our model.
pip install torch torchaudio transformers datasets soundfile jiwer
The main purpose for the following libraries:
- transformers: Provides pre-trained Wav2Vec2 models for speech recognition
- datasets: Loads and processes speech datasets
- torchaudio: Handles audio processing and manipulation
- soundfile: Reads and writes .wav files
- jiwer: Computes the WER for evaluating ASR performance
Step 2: Loading a Lightweight Speech Dataset
Instead of using large datasets like Common Voice, we use SUPERB KS, a small dataset ideal for quick experimentation. This dataset consists of short spoken commands like “yes,” “no,” and “stop.”
from datasets import load_dataset

dataset = load_dataset("superb", "ks", split="train[:1%]")  # Load only 1% of the data for quick testing
print(dataset)
This loads a tiny subset of the dataset to reduce computational cost while still allowing us to fine-tune the model. Warning: the dataset still requires storage space, so be mindful of disk usage when working with larger splits.
Step 3: Preprocessing the Audio Data
To train our ASR model, we need to ensure that the audio data is in the correct format. The Wav2Vec2 model requires:
- 16 kHz sample rate
- No padding or truncation (handled dynamically)
We define a function to process the audio and extract relevant features.
import torchaudio

def preprocess_audio(batch):
    speech_array, sampling_rate = torchaudio.load(batch["audio"]["path"])
    batch["speech"] = speech_array.squeeze().numpy()
    batch["sampling_rate"] = sampling_rate
    batch["target_text"] = batch["label"]  # Use labels as text output
    return batch

dataset = dataset.map(preprocess_audio)
This ensures all audio files are loaded correctly and formatted properly for further processing.
Step 4: Loading a Pre-trained Wav2Vec2 Model
We use a pre-trained Wav2Vec2 model from Hugging Face’s model hub. This model has already been trained on a large dataset and can be fine-tuned for our specific task.
from transformers import Wav2Vec2Processor, Wav2Vec2ForCTC

processor = Wav2Vec2Processor.from_pretrained("facebook/wav2vec2-base-960h")
model = Wav2Vec2ForCTC.from_pretrained("facebook/wav2vec2-base-960h")
Here we define both the processor that converts raw audio into model-friendly features and the model, consisting of a Wav2Vec2 pre-trained on 960 hours of speech.
Step 5: Preparing Data for the Model
We must tokenize and encode the audio so that the model can understand it.
def preprocess_for_model(batch):
    inputs = processor(batch["speech"], sampling_rate=16000, return_tensors="pt", padding=True)
    batch["input_values"] = inputs.input_values[0]
    return batch

dataset = dataset.map(preprocess_for_model, remove_columns=["speech", "sampling_rate", "audio"])
This step ensures that our dataset is compatible with the Wav2Vec2 model.
Step 6: Defining Training Arguments
Before training, we need to set up our training configuration. This includes batch size, learning rate, and optimization steps.
from transformers import TrainingArguments

training_args = TrainingArguments(
    output_dir="./wav2vec2",
    per_device_train_batch_size=4,
    evaluation_strategy="epoch",
    save_strategy="epoch",
    logging_dir="./logs",
    learning_rate=1e-4,
    warmup_steps=500,
    max_steps=4000,
    save_total_limit=2,
    gradient_accumulation_steps=2,
    fp16=True,
    push_to_hub=False,
)
Step 7: Training the Model
Using Hugging Face’s Trainer, we fine-tune our Wav2Vec2 model.
from transformers import Trainer

trainer = Trainer(
    model=model,
    args=training_args,
    train_dataset=dataset,
    tokenizer=processor,
)

trainer.train()
Step 8: Evaluating the Model
To measure how well our model transcribes speech, we compute the WER.
import torch
from jiwer import wer

def transcribe(batch):
    inputs = processor(batch["input_values"], return_tensors="pt", padding=True)
    with torch.no_grad():
        logits = model(inputs.input_values).logits
    predicted_ids = torch.argmax(logits, dim=-1)
    batch["predicted_text"] = processor.batch_decode(predicted_ids)[0]
    return batch

results = dataset.map(transcribe)
wer_score = wer(results["target_text"], results["predicted_text"])
print(f"Word Error Rate: {wer_score:.2f}")
A lower WER score indicates better performance.
Step 9: Running Inference on New Audio
Finally, we can use our trained model to transcribe real-world speech.
import torchaudio
import soundfile as sf

speech_array, sampling_rate = torchaudio.load("example.wav")
inputs = processor(speech_array.squeeze().numpy(), sampling_rate=16000, return_tensors="pt", padding=True)

with torch.no_grad():
    logits = model(inputs.input_values).logits

predicted_ids = torch.argmax(logits, dim=-1)
transcription = processor.batch_decode(predicted_ids)
Conclusion
And that’s it. You’ve successfully built an ASR system using PyTorch & Hugging Face with a lightweight dataset.
Josep Ferrer is an analytics engineer from Barcelona. He graduated in physics engineering and is currently working in the data science field applied to human mobility. He is a part-time content creator focused on data science and technology. Josep writes on all things AI, covering the application of the ongoing explosion in the field.
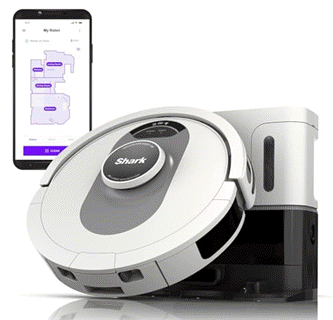
Transform your cleaning routine with the Shark AI Ultra Voice Control Robot Vacuum! This high-tech marvel boasts over 32,487 ratings, an impressive 4.2 out of 5 stars, and has been purchased over 900 times in the past month. Perfect for keeping your home spotless with minimal effort, this vacuum is now available for the unbeatable price of $349.99!
Don’t miss out on this limited-time offer. Order now and let Shark AI do the work for you!
Help Power Techcratic’s Future – Scan To Support
If Techcratic’s content and insights have helped you, consider giving back by supporting the platform with crypto. Every contribution makes a difference, whether it’s for high-quality content, server maintenance, or future updates. Techcratic is constantly evolving, and your support helps drive that progress.
As a solo operator who wears all the hats, creating content, managing the tech, and running the site, your support allows me to stay focused on delivering valuable resources. Your support keeps everything running smoothly and enables me to continue creating the content you love. I’m deeply grateful for your support, it truly means the world to me! Thank you!
BITCOIN
bc1qlszw7elx2qahjwvaryh0tkgg8y68enw30gpvge Scan the QR code with your crypto wallet app |
DOGECOIN
D64GwvvYQxFXYyan3oQCrmWfidf6T3JpBA Scan the QR code with your crypto wallet app |
ETHEREUM
0xe9BC980DF3d985730dA827996B43E4A62CCBAA7a Scan the QR code with your crypto wallet app |


Please read the Privacy and Security Disclaimer on how Techcratic handles your support.
Disclaimer: As an Amazon Associate, Techcratic may earn from qualifying purchases.


