Jayita Gulati
2025-04-01 12:00:00
www.kdnuggets.com

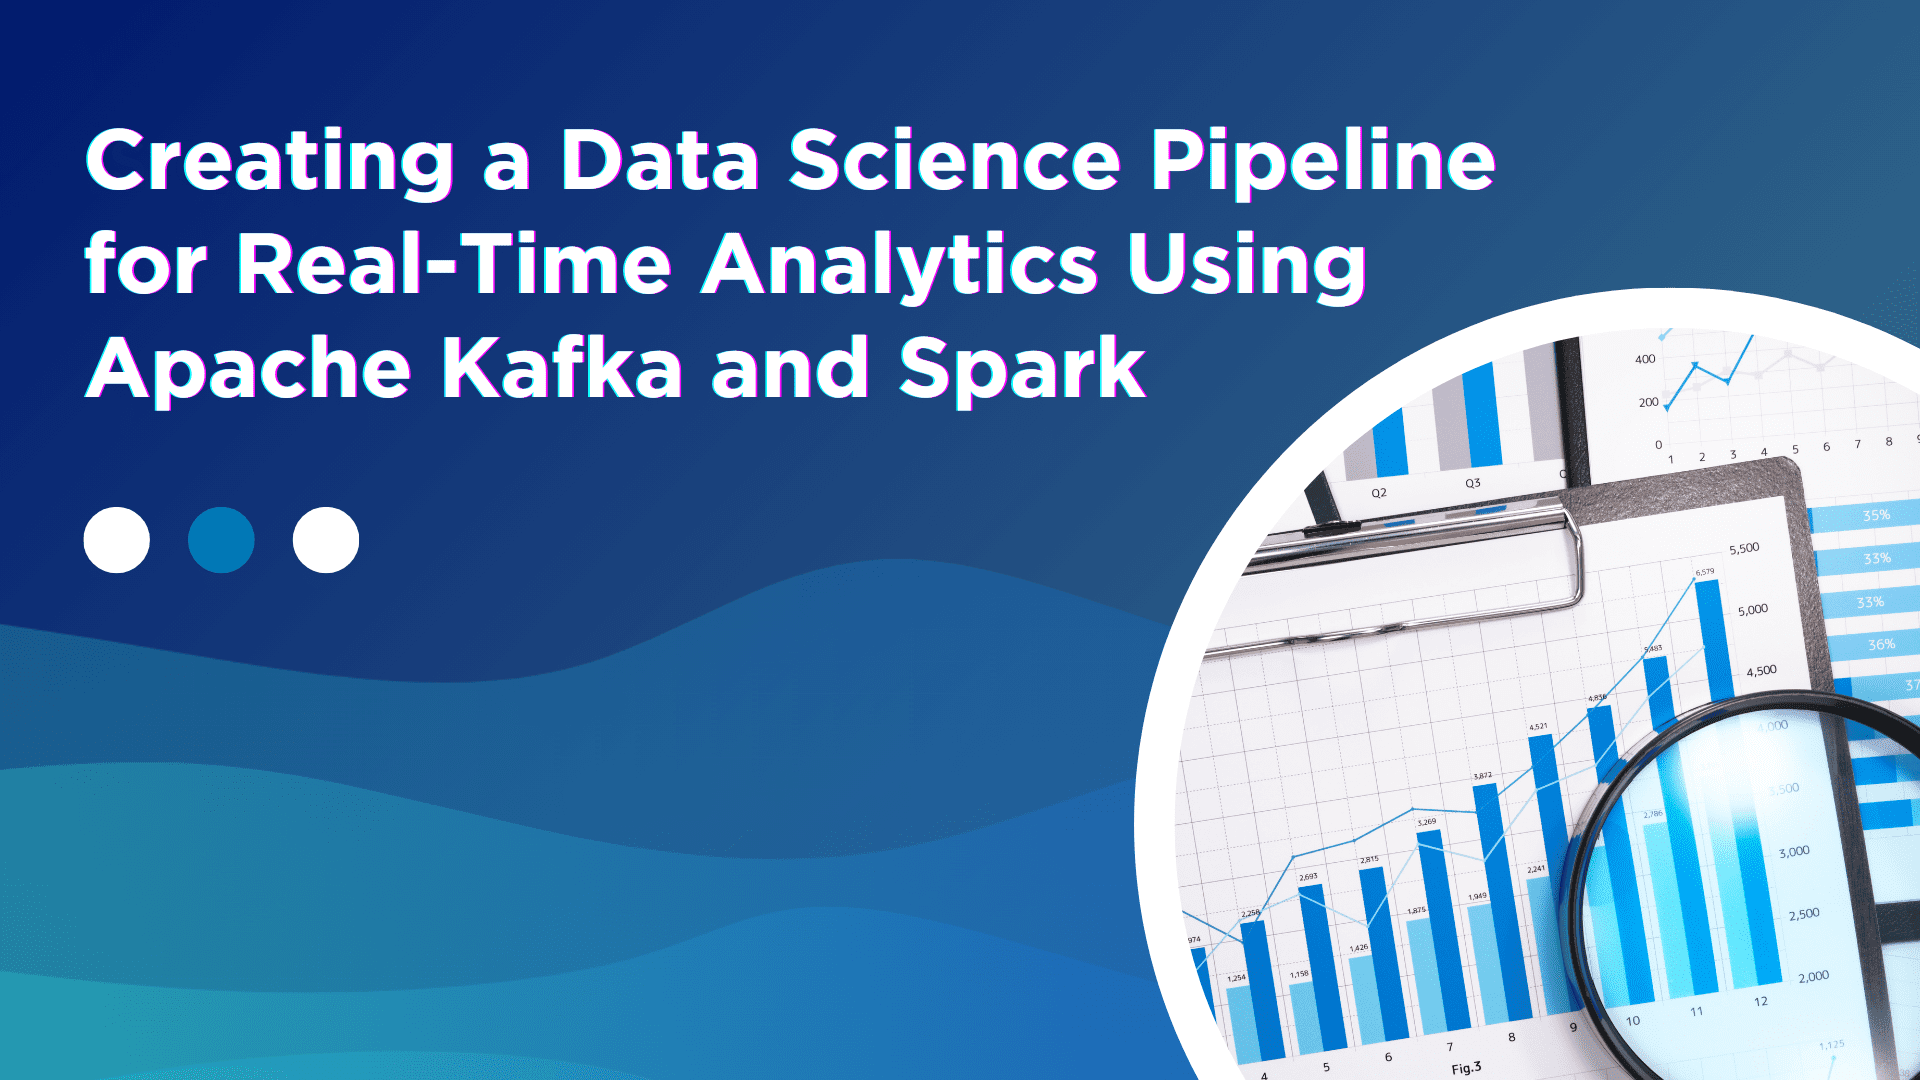
Image by Editor (Kanwal Mehreen) | Canva
In today’s world, data is growing fast. Businesses need quick decisions based on this data. Real-time analytics analyzes data as it’s created. This lets companies react immediately. Apache Kafka and Apache Spark are tools for real-time analytics. Kafka collects and stores incoming data. It can manage many data streams at once. Spark processes and analyzes data quickly. It helps businesses make decisions and predict trends. In this article, we will build a data pipeline using Kafka and Spark. A data pipeline processes and analyzes data automatically. First, we set up Kafka to collect data. Then, we use Spark to process and analyze it. This helps us make fast decisions with live data.
Setting Up Kafka
First, download and install Kafka. You can get the latest version from the Apache Kafka website and extract it to your preferred directory. Kafka requires Zookeeper to run. Start Zookeeper first before launching Kafka. After Zookeeper is up and running, start Kafka itself:
bin/zookeeper-server-start.sh config/zookeeper.properties
bin/kafka-server-start.sh config/server.properties
Next, create a Kafka topic to send and receive data. We will use the topic sensor_data.
bin/kafka-topics.sh --create --topic sensor_data --bootstrap-server localhost:9092 --partitions 1 --replication-factor 1
Kafka is now set up and ready to receive data from producers.
Setting Up Kafka Producer
A Kafka producer sends data to Kafka topics. We will write a Python script that simulates a sensor producer. This producer will send random sensor data (like temperature, humidity, and sensor IDs) to the sensor_data Kafka topic.
from kafka import KafkaProducer
import json
import random
import time

# Initialize Kafka producer
producer = KafkaProducer(bootstrap_servers="localhost:9092",
                         value_serializer=lambda v: json.dumps(v).encode('utf-8'))

# Send data to Kafka topic every second
while True:
    data = {
        'sensor_id': random.randint(1, 100),
        'temperature': random.uniform(20.0, 30.0),
        'humidity': random.uniform(30.0, 70.0),
        'timestamp': time.time()
    }
    producer.send('sensor_data', value=data)
    time.sleep(1)  # Send data every second
This producer script generates random sensor data and sends it to the sensor_data topic every second.
Setting Up Spark Streaming
Once Kafka collects data, we can use Apache Spark to process it. Spark Streaming lets us process data in real time. Here’s how to set up Spark to read data from Kafka:
- First, we need to create a Spark session. This is where Spark will run our code.
- Next, we will tell Spark how to read data from Kafka. We will set the Kafka server details and the topic where the data is stored.
- After that, Spark will read the data from Kafka and convert it into a format that we can work with.
from pyspark.sql import SparkSession
from pyspark.sql.functions import from_json, col
from pyspark.sql.types import StructType, StructField, StringType, FloatType, TimestampType

# Initialize Spark session
spark = SparkSession.builder \
    .appName("RealTimeAnalytics") \
    .getOrCreate()

# Define schema for the incoming data
schema = StructType([
    StructField("sensor_id", StringType(), True),
    StructField("temperature", FloatType(), True),
    StructField("humidity", FloatType(), True),
    StructField("timestamp", TimestampType(), True)
])

# Read data from Kafka
kafka_df = spark.readStream \
    .format("kafka") \
    .option("kafka.bootstrap.servers", "localhost:9092") \
    .option("subscribe", "sensor_data") \
    .load()

# Parse the JSON data
sensor_data_df = kafka_df.selectExpr("CAST(value AS STRING)") \
    .select(from_json(col("value"), schema).alias("data")) \
    .select("data.*")

# Perform transformations or filtering
processed_data_df = sensor_data_df.filter(sensor_data_df.temperature > 25.0)
This code gets data from Kafka. It reads the data and changes it into a usable format. It then filters out data with a temperature above 25°C.
Machine Learning for Real-Time Predictions
Now, we will use machine learning to make predictions. We will use Spark’s MLlib library. We will create a simple logistic regression model. This model will predict if the temperature is “High” or “Normal” based on the sensor data.
from pyspark.ml.classification import LogisticRegression
from pyspark.ml.feature import VectorAssembler
from pyspark.ml import Pipeline

# Prepare features and labels for logistic regression
assembler = VectorAssembler(inputCols=["temperature", "humidity"], outputCol="features")
lr = LogisticRegression(labelCol="label", featuresCol="features")

# Create a pipeline with feature assembler and logistic regression
pipeline = Pipeline(stages=[assembler, lr])

# Assuming sensor_data_df has a 'label' column for training
model = pipeline.fit(sensor_data_df)

# Apply the model to make predictions on real-time data (without displaying)
predictions = model.transform(sensor_data_df)
This code creates a logistic regression model. It trains the model with the data. Then, it uses the model to predict if the temperature is high or normal.
Best Practices for Real-Time Data Pipelines
- Ensure that Kafka and Spark can handle more data as your system grows.
- Optimize the use of Spark’s resources to prevent overloading the system.
- Use a schema registry to manage any changes in the structure of the data in Kafka.
- Set appropriate data retention policies in Kafka to manage how long data is stored.
- Adjust the size of Spark’s data batches to find the right balance between processing speed and accuracy.
Conclusion
In conclusion, Kafka and Spark are powerful tools for real-time data. Kafka collects and stores incoming data. Spark processes and analyzes this data quickly. Together, they help businesses make fast decisions. We also used machine learning with Spark for real-time predictions. This makes the system even more useful.
To keep everything running well, it’s important to follow good practices. This means using resources wisely, organizing data carefully, and making sure the system can grow when needed. With Kafka and Spark, businesses can work with large amounts of data in real time. This helps them make smarter and faster decisions.
Jayita Gulati is a machine learning enthusiast and technical writer driven by her passion for building machine learning models. She holds a Master’s degree in Computer Science from the University of Liverpool.
Transform your cleaning routine with the Shark AI Ultra Voice Control Robot Vacuum! This high-tech marvel boasts over 32,487 ratings, an impressive 4.2 out of 5 stars, and has been purchased over 900 times in the past month. Perfect for keeping your home spotless with minimal effort, this vacuum is now available for the unbeatable price of $349.99!
Don’t miss out on this limited-time offer. Order now and let Shark AI do the work for you!
Help Power Techcratic’s Future – Scan To Support
If Techcratic’s content and insights have helped you, consider giving back by supporting the platform with crypto. Every contribution makes a difference, whether it’s for high-quality content, server maintenance, or future updates. Techcratic is constantly evolving, and your support helps drive that progress.
As a solo operator who wears all the hats, creating content, managing the tech, and running the site, your support allows me to stay focused on delivering valuable resources. Your support keeps everything running smoothly and enables me to continue creating the content you love. I’m deeply grateful for your support, it truly means the world to me! Thank you!
BITCOIN
bc1qlszw7elx2qahjwvaryh0tkgg8y68enw30gpvge Scan the QR code with your crypto wallet app |
DOGECOIN
D64GwvvYQxFXYyan3oQCrmWfidf6T3JpBA Scan the QR code with your crypto wallet app |
ETHEREUM
0xe9BC980DF3d985730dA827996B43E4A62CCBAA7a Scan the QR code with your crypto wallet app |
Please read the Privacy and Security Disclaimer on how Techcratic handles your support.
Disclaimer: As an Amazon Associate, Techcratic may earn from qualifying purchases.


